


Maybe you find yourself in the same position as I am - having to make do with the tools that you have (which in my case are VERY minimal.) I have been postponing some of the projects that I want to do because I need bias tape and therefore need a bias tape maker. I finally had the opportunity to go look for one in Seoul, last week. I bought one and being my distracted self, I bought one that was WAY too narrow. After kicking myself I decided that it was not actually the end of the world, and that I might be able to borrow one somewhere. Shortly after this a friend of mine told me that her professor had taught her how to make bias tape without the maker thingymajig. REVELATION!!

You need:
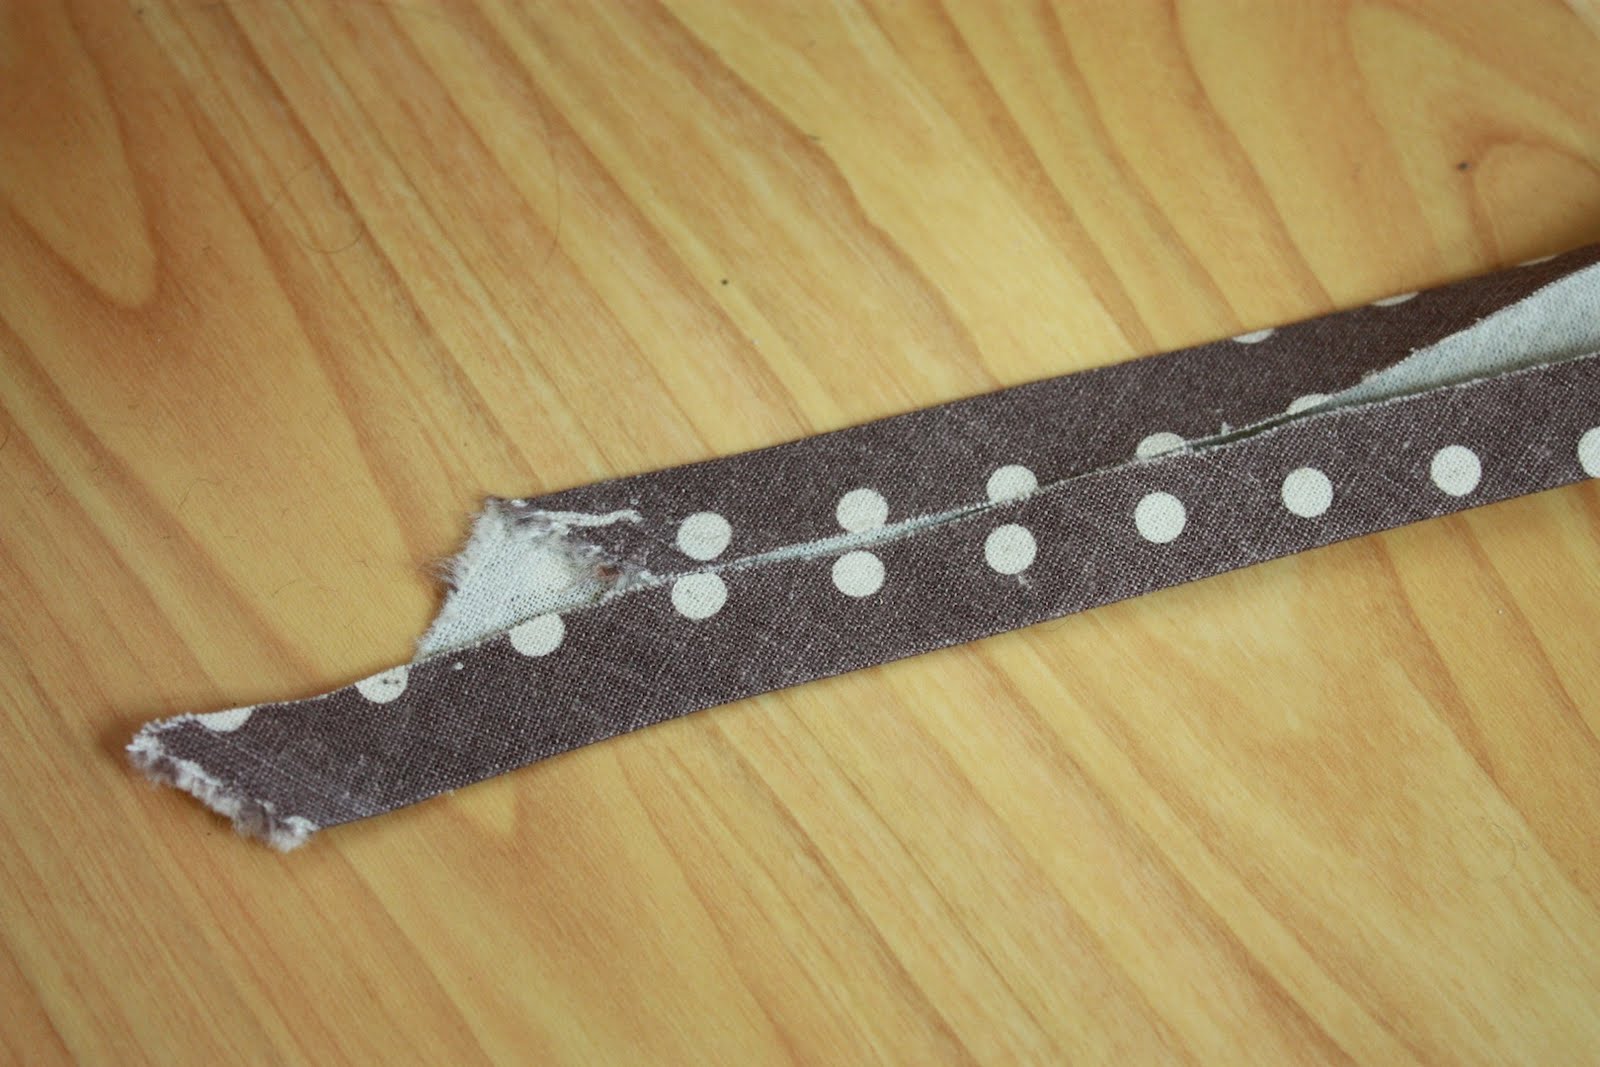
Fabric, cut into strips (if you don't know how - here is a good link, from that girl that quilt, to teach you)
An ironing board
2 Pins or needles
A fabric marker
An iron
Instructions:
Make marks on your ironing board with your fabric marker (as wide as you need your finished bias tape to be)
I made mine 3cm in this pic. (sorry for the blur, its a combination of bad lighting and...well...me:)

Now insert your needles/pins like I have done below: (the needles go back into the fabric at the bottom even though it doesn't look like it)

Your needles don't need to be an exact distance apart, so you don't need to get too technical :)
Now cut your fabric strips (double the width of your final bias tape) and start off the process by folding the fabric in half and just ironing the first few centimeters:

And then fold the outer edges inward and iron.
Thread the first part of your soon-to-be-bias-tape under your needles:


Now all you have to do is pull it through, SLOWLY, and iron it flat as you go.

Obviously it is better to use a bias tape maker but HAVING bias tape is better than not having it.
I hope this helps you as much as it has helped me.
A lack of tools does not mean you have to sit on the side while all the other kids have fun :)

12 comments:
OMG! I wish someone had show me that ages ago.
Thanks.
Very clever.
How clever and smart you are! I have a bias tape maker but only one size (half inch) and this will be great when I need to make other sizes. Woo Hoo! You've made my day.
Peace & Love,
~Barb~
I've seen this before but haven't tried it yet. Someday :)
Thank you very much! You're a lifesaver, and thank your friend for me. ^*^~~~
Ahh, you're my new best friend (smile). Just found this post on Pinterest. Thank you!
Thanks so much for sharing this! I just needed to make the bias tape to finish up a project but didn't have a bias tape maker. That project is as good as done now!
Briliant! Thank you...just what I was after.
Best thing on the internet - EVER!
I just pressed 6 metres of bias tape in 10 minutes - thank you so much.
OMG! What a life saver this is!!! Thank you so much!!!
THANK YOU!!!! Vacation is in two days. I really wanted to wear my new T-shirt, but it's a really boyish shape. So I was naturally going to lower the neck a tad and shorten the sleeves, and I thought "DIY bias tape, easy!"...and then realized, like you, my single bias tape maker was the complete opposite of the size I needed for this project. Thank you for sharing this tip, and please pass along a high five to your friend, too! :D
Terrific! Many Thanks!
Post a Comment